
Ever wonder if the perfect backpack could spark your outdoor spirit? Picture a pack that turns every rest along the trail into a moment of pure joy. It’s not just a bag for your everyday gear, it’s like a trusty friend, ready to step in when the wild surprises you. In this post, we'll chat about the must-have essentials that help you stay light, safe, and all set to enjoy the fresh air.
Building Your Backpacking Kit: Essential Gear Breakdown

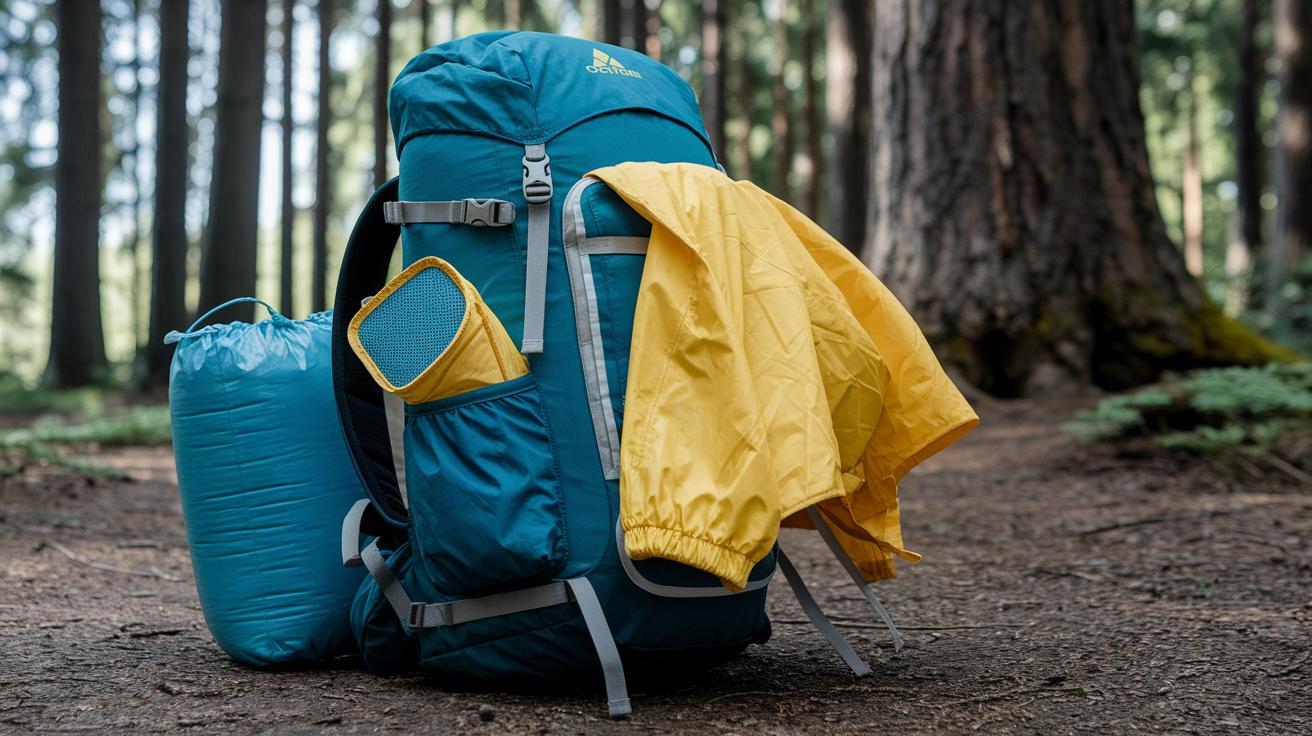
When you head out into the wild, every little piece of gear counts. Start with a backpack between 28 and 55 liters that can hold a base load of 10 to 15 pounds. Think of your kit as different trail stops, with each section set up to tackle a part of your outdoor adventure.
Shelter comes next. Whether you choose a trekking pole tent (one that uses poles to stand) or a self-supporting design, your shelter sets the tone for facing nature’s surprises. Look for ultralight options with fewer stakes and a small footprint to keep your load light and nimble.
Now, let’s talk about getting a good night’s rest. Quilts like the Hyperlite 20° or even lighter sleeping bag alternatives can help you snooze soundly under the stars. Pair these with a compact, ultralight sleeping pad, think Nemo Tensor Trail or Therm-a-Rest Z Lite Sol, for added comfort and efficiency when you’re winding down after a long day on the trail.
When hunger strikes, your cooking tools come into play. A small burner like the MSR PocketRocket 2 teamed with a tiny pot such as the MSR Titan Kettle lets you whip up a warm meal without hogging space in your pack.
Water is essential, too. Keep things simple with a lightweight bottle system and a gravity filter setup, or choose a model like the Sawyer Squeeze to ensure your water stays safe and accessible on the go.
Don’t forget the extras, clothing that suits the weather, a first aid kit for those unexpected scrapes, and handy organizers like packing cubes or stuff sacks to keep everything tidy. A snug pair of trail shoes and compact, ultralight toiletries can round out your kit and keep you comfortable throughout your journey.
For a taste of top-notch gear, check out the Osprey Atmos AG 65, weighing in at 4 lb 11 oz and priced around $340, or the impressive Hyperlite Southwest 55 L, which comes in at about 30.3 oz.
Backpacking Kit Shelter and Sleep System Selection
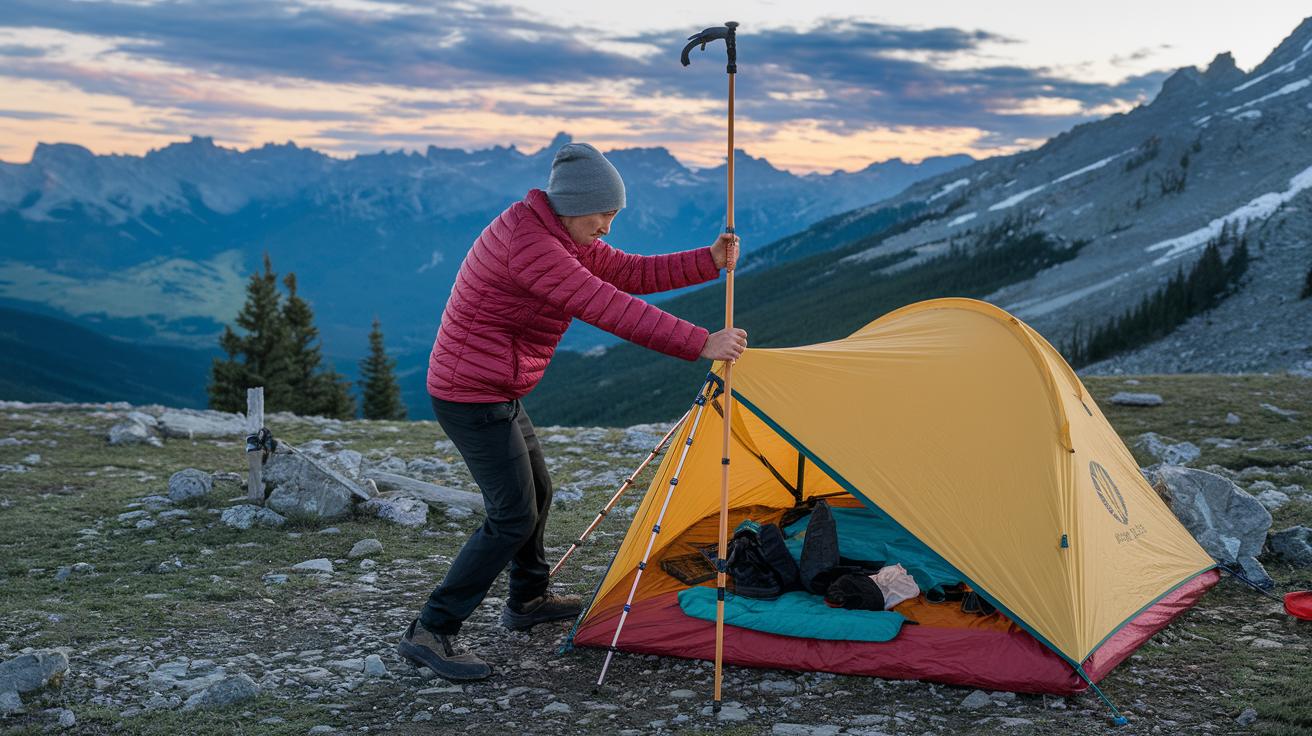
Carrying gear that's light can make every step feel easier. You can pick shelters that hook onto your trekking poles or go with freestanding ones like the Hyperlite Unbound 2 or Zpacks Triplex. Ever imagined setting up camp under a vast, open sky with a shelter that weighs less than a loaf of bread? It cuts down your load while still keeping you safe.
Using ultralight stakes and a solid footprint helps your shelter stay put on rocky, damp ground. For sleeping, why not try a quilt like the Hyperlite 20° or Zpacks Summer Quilt instead of a bulky sleeping bag? Pair it with pads like the Nemo Tensor Trail or Therm-a-Rest Z Lite Sol to keep you comfy and warm, even on uneven ground.
Backpacking Kit Cooking and Nutrition Essentials
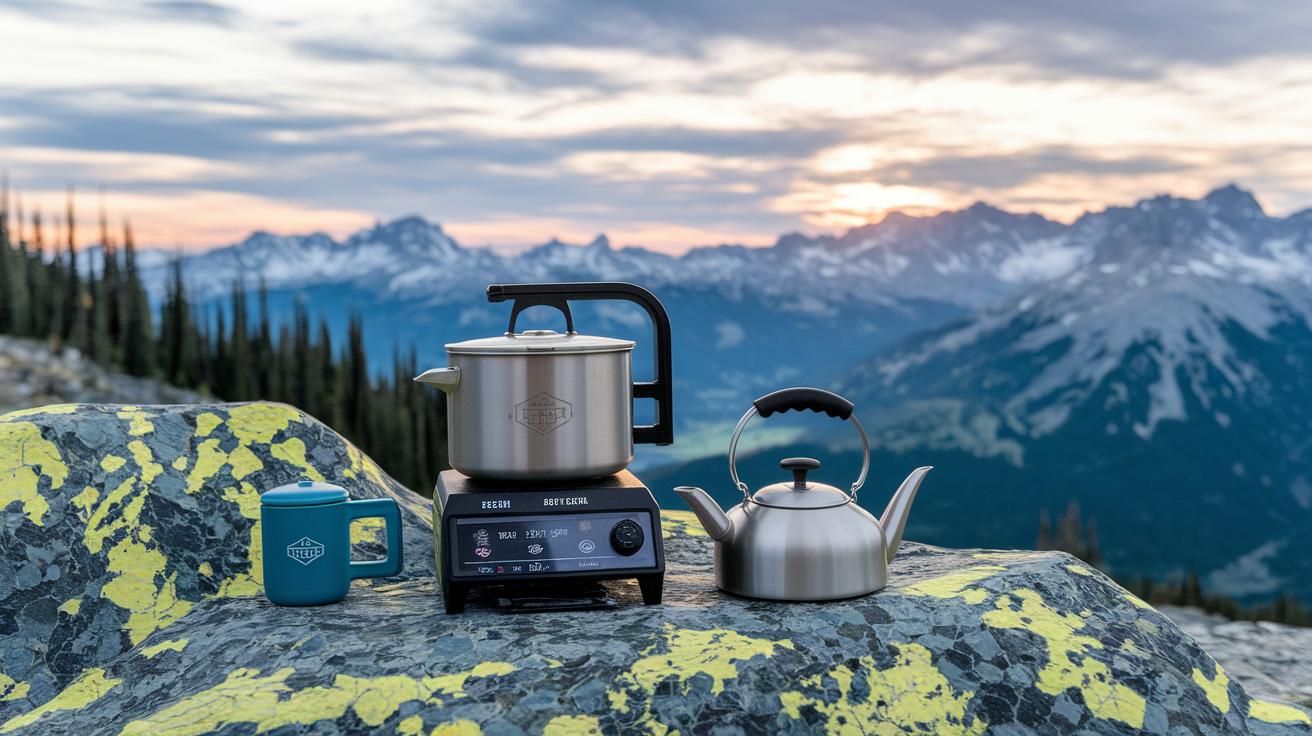
Camp kitchens need to be both powerful and light, just like a trusty friend on the trail. Consider gear such as the Jet Boil Stash and the MSR PocketRocket 2; they heat your meals quickly without weighing you down. One camper said, "I couldn’t believe how a tiny stove made boiling water feel so easy after a long day." It’s a game changer.
Compact cookware is a must. The MSR Titan Kettle comes in two sizes, 900 ml and 1400 ml, to match your meal needs. Its design works perfectly with a smart pot-nest system that saves valuable space in your pack.
For stirring and serving, the MSR Titan Long Spoon is spot-on, ensuring every bite is just right. And then there’s the Snowpeak Ti Double 450 Mug, which does double duty, letting you enjoy a warm drink or act as an extra spoon if you need it.
Remember, preparing field meals isn’t only about boiling water, it transforms simple freeze-dried options from brands like Peak Refuel and Pinnacle Foods into hearty, satisfying campside suppers.
Here are your ultralight essentials:
- Stove options like the MSR PocketRocket 2
- Dual-size MSR Titan Kettles and the Titan Long Spoon
- Multi-use Snowpeak Ti Double 450 Mug
- A reliable pot-nest system for clever space-saving
| Item | Feature |
|---|---|
| Jet Boil Stash | Compact cooking system |
| MSR PocketRocket 2 | Efficient, lightweight stove |
| MSR Titan Kettle | Available in 900 ml & 1400 ml sizes |
Hydration and Water Treatment for Your Backpacking Kit
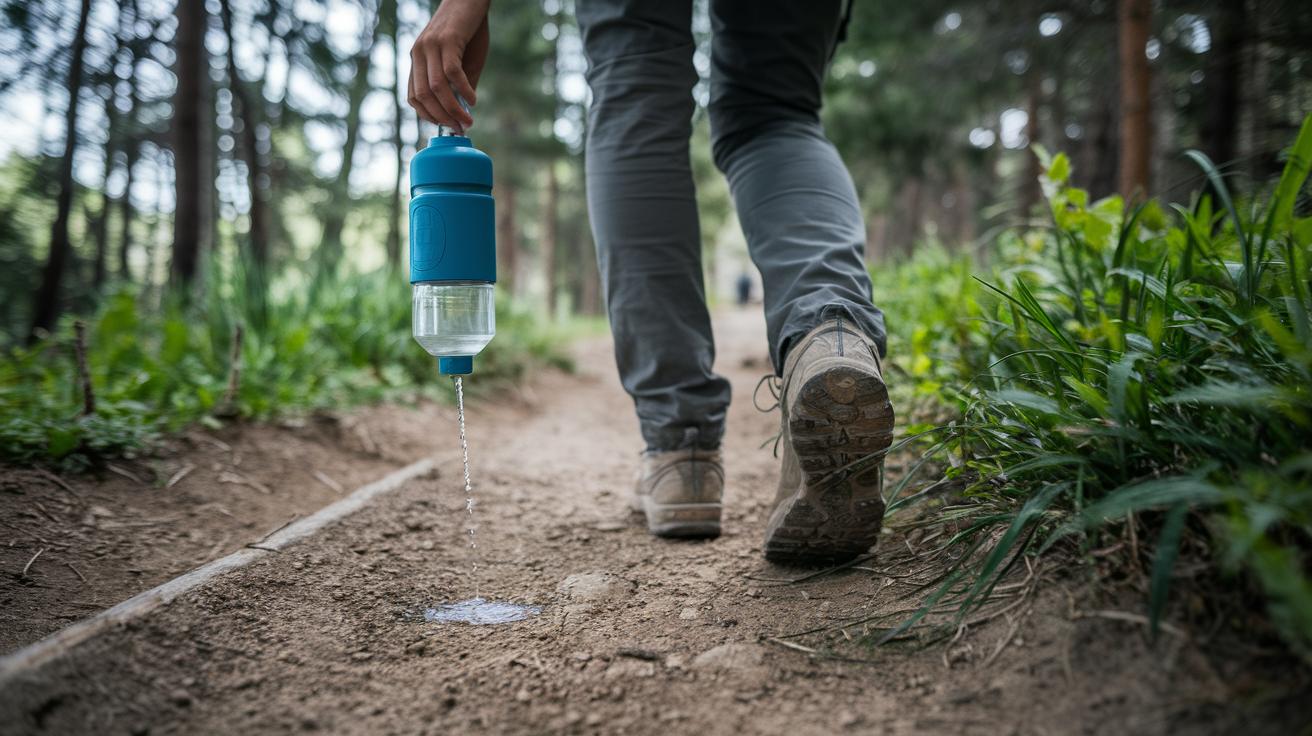
Packing water smartly means less bulk and more room for the other gear you need. Many hikers now ditch the heavy water packs for lightweight bottles paired with DIY gravity filters. These simple setups weigh about 5 oz and can handle up to 2 liters, almost like having your mini water-cleaning station that works as you pour. Cool, right?
Another solid option is the Sawyer Squeeze. This little filter kit keeps your water clean without weighing you down. And if you like a pump-style system, the MSR Hyperflow pump filter is a great choice at about 9 oz. It lets water flow fast so you’re not stuck waiting while taking a quick break on a steep trail.
Cleaning these filters is a snap too. They’re designed to be taken care of right on the trail, so your water stays safe trip after trip. With choices like these, you can build a hydration plan that perfectly fits your weight and ease-of-use goals.
First Aid and Emergency Gear in a Backpacking Kit
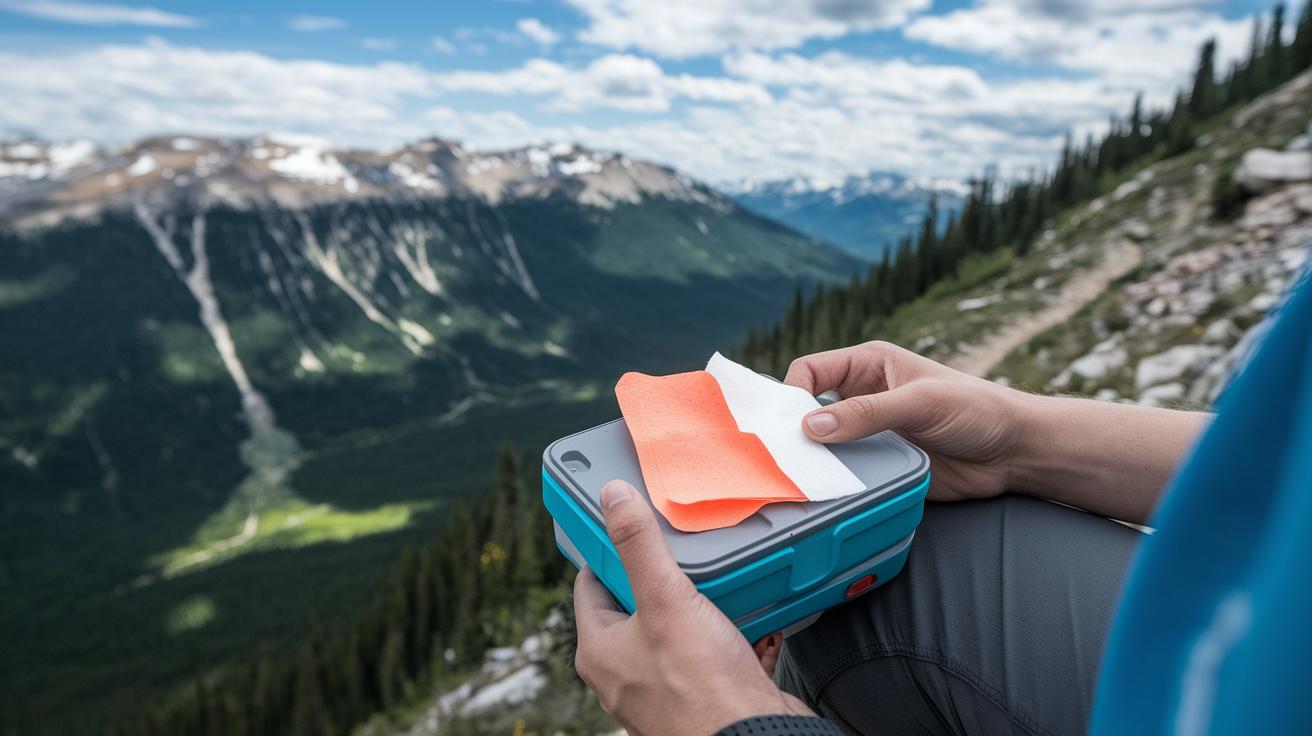
Ever been out on a trail when a small scrape or sudden weather shift throws you off? A trusty first aid kit can really boost your outdoor vibe by keeping you ready for those unexpected bumps along the way. After learning a bit in wilderness first aid, pare down your kit to just the essentials, small bottles for must-have meds and antibacterial cream (that’s the stuff to help heal cuts). A few bandages, some antiseptic wipes, and blister care supplies can really make a difference when the path gets rough.
And don’t forget simple extras like a portable bidet cap for quick hygiene fixes plus basic wound care items such as adhesive bandages, gauze, and medical tape. Ever had gear get damaged on the trail? Having a multi-tool and a small roll of duct tape on hand means you can make a quick patch-up when needed.
Below is a quick list of what to pack:
| Item | Description |
|---|---|
| Mini Medication Containers & Pain Relievers | Easy, on-the-go doses for minor aches |
| Adhesive Bandages, Gauze & Antiseptic Wipes | For cleaning cuts and covering wounds |
| Portable Bidet Cap | Quick fix for personal hygiene |
| Multi-Tool & Duct Tape | Handy fixes for gear mishaps |
When adventure calls, knowing you’re prepared can make every trail feel a bit brighter.
Backpacking Kit Organization and Packing Strategies
Keeping your backpack organized makes your hike a lot smoother. Try using gear organizers like Hyperlite packing cubes to group similar items together. Imagine having a special spot for your rain jacket instead of it getting lost in a mountain of gear.
To keep things even neater, grab a 1 L drawstring stuff sack for wet items. Pack your damp rain clothes in one sack and keep your dry electronics or snacks in another. That way, if you need something quick at a rest stop, it’s easy to find.
It also helps to sort your gear by weight and moisture. For example, you might have a group for ultralight basics (like a small first aid kit), another for cooking gear and utensils, and a section for clothes organized by weather layers.
Keep in mind that organizing your pack is a process. With every trip, adjust your setup until everything feels just right. Soon, you’ll have a system that’s built for quick access and smooth movement, letting you focus on the beauty of the trail ahead.
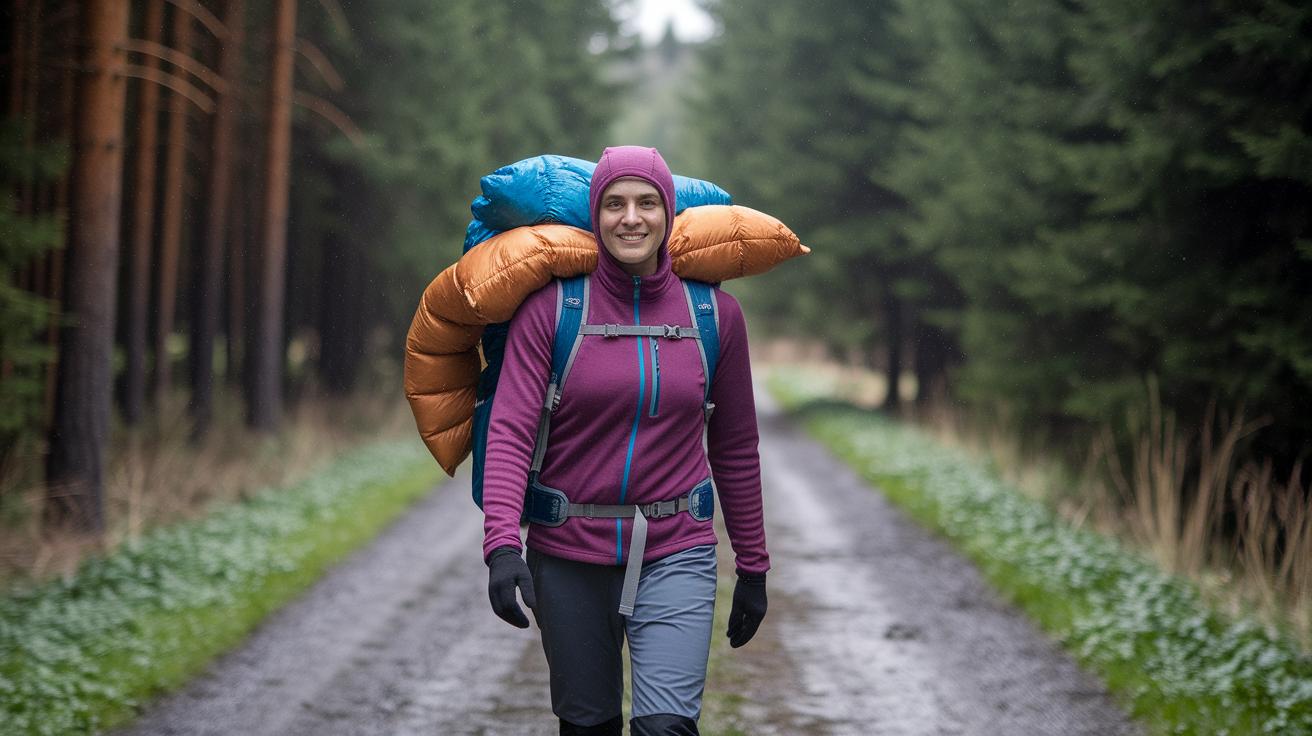
Selecting the Right Backpack for Your Backpacking Kit

Picking the right backpack is like choosing a good companion for your trail, it’s all about balance and knowing what fits best. Start by checking your body type. Measure your torso and hips, then hunt for a pack with adjustable straps and a hip belt that feels as snug as your favorite pair of trail shoes.
For example, many hikers swear by the Osprey Atmos AG 65 and Aura AG 65. They weigh in at about 4 lb 11 oz, cost around $340, and offer 65 liters of room. One hiker mentioned it moved with them perfectly, each strap fitting just right, like the pack was made for their journey.
If you’re leaning towards a lighter load, consider a minimalist model such as the Hyperlite Mountain Gear 3400 Windrider. Built with high-performance Dyneema (a super-light, durable material), this pack holds 55 liters but weighs only 30.3 oz. It’s an ideal choice when you want to trim down your base weight without missing out on essential storage.
And don’t overlook how the pack handles the weight. Look for designs that spread the load evenly, easing strain on your back. Compare fit, capacity, material, and comfort step by step. Soon, you’ll find a pack that truly sparks your outdoor adventure spirit.
Seasonal Adjustments for Your Backpacking Kit
When you're out exploring, the right layers make a world of difference. Start with a base layer that's soft and cozy enough to double as your sleepwear. Add a fleece or light mid-layer for extra warmth when the night gets cool. A down jacket that can serve as a pillow is a neat way to save space. In the summer, choose light, moisture-wicking clothes that help you stay fresh. And don’t forget that essential rain shell, it’s a must for sudden showers, no matter when you’re trekking. Sometimes, a small beanie or a pair of gloves is all you need on a brisk morning or evening.
Planning ahead for the weather pays off. On those crisp autumn mornings, a base layer teamed with a light fleece will keep you comfortable. Come spring, a windbreaker with a light raincoat is just right for unexpected drizzles. Trying out different gear on shorter trips can really show you which pieces work best. These small tweaks not only boost your comfort but also make your backpack lighter and your adventure smoother.
Budget-Friendly and Sustainable Backpacking Kit Options

Heading out into nature on a budget doesn’t mean you have to settle for low-quality gear. You can pack smart with equipment built to last and kind to our planet. Look for items that are tough and eco-friendly so you don't need to replace them all the time. For example, the Gossamer Gear The One tent weighs just 1 lb 6 oz. One fellow adventurer even said, "This tent not only kept me dry in sudden showers but also left plenty of room in my pack for other gear."
Next up, consider the Bishop Pass 30°F down bag. Priced between $245 and $265 and weighing just 1 lb 12 oz, it keeps you warm on those cool nights without weighing you down. It’s built with lasting materials, making it a smart, sustainable buy for any trekker.
And then there’s the Ursack Major XL bear bag, tipping the scales at only 8 oz. It’s a clever, cost-saving way to protect your food from curious critters. With a few well-chosen items like these, you'll have a backpacking kit that’s both budget-friendly and built for the trail, letting you enjoy every step of your adventure.
Final Words
In the action, our guide walked you through the key steps of building your backpacking kit. We covered shelter and sleep choices, cooking setups, water treatment methods, and handy first aid fixes. We also talked smart packing and seasonal tweaks so you can pack light without missing a beat. Every detail was meant to help you plan safe trips out in the wild. May your backpacking kit serve you well on paths filled with fresh air and warm memories.