
Ever notice how some gear barely holds up while other pieces seem built to last forever? Just like we need a little break after a long day outdoors, your backpack gear needs a quick clean-up after every trip. A simple wash and dry, removing sweat, salt, and dirt right away, can save you money and stretch your gear's life. In this guide, I'll share easy, down-to-earth steps to keep your equipment in top shape, so you're always ready for your next camping adventure.
Backpacking Gear Maintenance Blueprint
Your backpacking gear can be pretty expensive, so taking good care of it means you get more adventures without breaking the bank. Right after your trip, run through a morning-after checklist to clear off any sweat, salt, or dirt. Imagine giving your pack a quick shake to dust off debris and a gentle wipe to clean the surfaces. It may seem small, but this simple step can save you from costly repairs down the line.
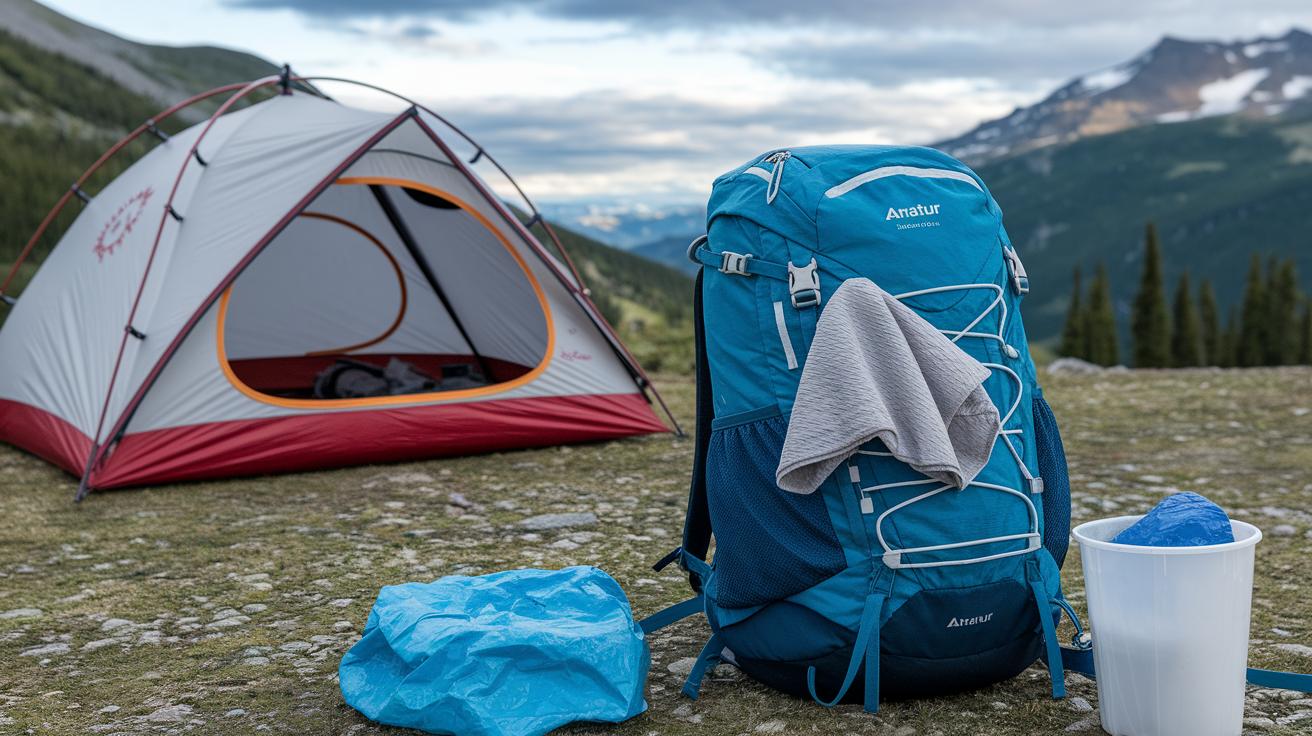
Next, treat your gear to a proper wash and dry session. Find a big, open space, like a sunlit conservatory, where your tent, backpack, and clothes can air out fully. Think of it as a refreshing shower for your gear after a long day outdoors. This extra drying step stops moisture from lingering, which is important for items like down insulation and technical fabrics (special materials designed for performance).
Once everything is clean and dry, set up a special spot for storage. Whether it's a dedicated gear closet or a specific shelf, keeping things organized helps protect them from dust and critters. With your gear neatly stored away, it's always ready for your next outing. In the upcoming sections, we'll dive into more detailed steps for cleaning, repairing, and storing your gear, ensuring it's always in top shape for your adventures.
Cleaning Methods for Backpacking Gear
After a day in the wild, cleaning your gear right away helps it stay strong and look fresh. It's like giving your trusty gear a little TLC after a hard day's adventure. Removing sweat, salt, and dirt is a habit that protects your fabrics and zippers from wear. Doing this stops buildup before it can slow you down on your next trip.
A gentle cleaning method preserves important features like water repellency and insulation. This method works well on everything from synthetic backpacks to down jackets. Remember to rinse well so you don’t leave soap behind, nobody wants extra grime tagging along.
Tailor your cleaning routine to fit each piece of your gear. For synthetic stuff, you might use a cleaner like Nikwax (it keeps water resistance and loft intact). Tough spots, especially in seams or worn areas, might need a bit more elbow grease.
Think of it like setting up camp, one step at a time:
- Pre-rinse: Get rid of loose dirt and debris.
- Spot-treat: Focus on pesky stains or salt marks.
- Soak with mild soap: Let gentle soap lift out stuck-on grime.
- Rinse: Wash out every drop to avoid sticky residue.
- Proper drying: Air-dry in a breezy, open space so your gear stays in top shape.
These steps clear away built-up grime and keep your gear hearty for future adventures. Regular cleaning means your stuff stays reliable and ready for its next outing. Treat your backpacks, sleeping bags, and outdoor clothes with care right after each trip. It's like keeping your gear as adventurous as you are.
Repair Tips and Field Fix-It Tactics for Backpacking Gear
Before you head out, fix small damage while you're still at home. If you spot a tear in your jacket or a frayed seam, go with special repair tapes instead of your usual duct tape. For example, Kenyon and Gear Aid Tenacious Tape work great on nylon or urethane (a type of durable plastic). And hey, adding a few stitches to weak spots in your packs or shelters stops the wear from spreading. A little home repair now means fewer hassles later on the trail.
When you're out exploring, a small repair kit can be a real lifesaver. Pack a compact set with needles, heavy thread, and those handy repair tapes so you can patch up holes or fix rips on the spot. This way, you're not forced to stop your adventure for long fixes. Having these tools close by helps you tackle issues right away, keeping your gear performing at its best through every twist and turn.
| Repair Tool | Use Case | Recommended Brand |
|---|---|---|
| Kenyon Repair Tape | Patches on nylon and urethane materials | Kenyon |
| Gear Aid Tenacious Tape | Quick fix that’s better than duct tape | Gear Aid |
| Needles & Heavy Thread | Sewing to reinforce torn seams | Generic |
| Multi-tool | Making small hardware adjustments | Various |
Storage Optimization and Post-Adventure Sanitation Procedures
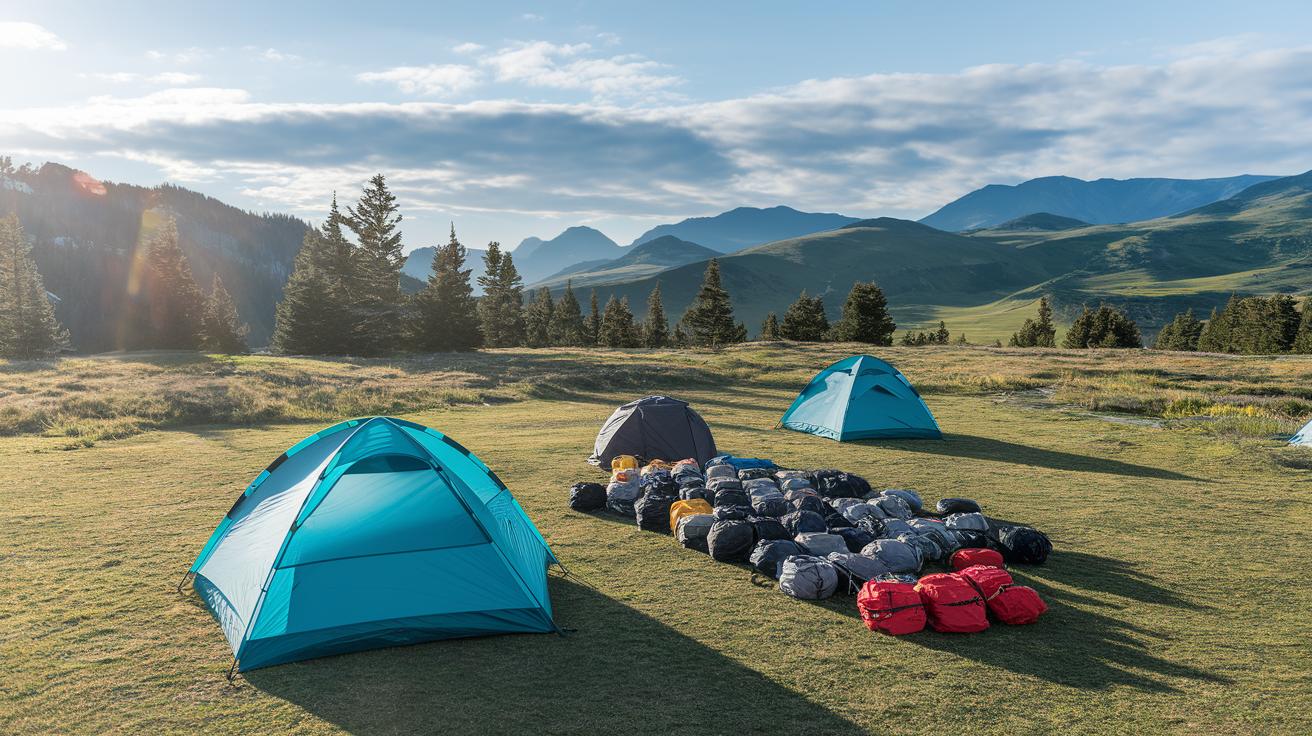
After each adventure, unpack your gear, packs, tents, and clothes, in a breezy area, just like you’d let wet boots dry after a rainy day. This little step stops the buildup of sweat and odor, keeping everything ready for your next trip.
When your gear is dry, put it away in a special spot with clear zones. Keep your camping gear, clothes, and tools in separate areas to fend off dust and critters. For instance, have one spot for tents and another for sleeping bags. If you’re curious about a neat setup, check out this backpacking equipment guide.
Every season, take a moment for a spring cleaning. Look over your gear, check replacement parts, filter supplies, and any other essentials. This simple routine makes sure everything stays in top shape until your next outdoor escape.
Specialized Care for Tents, Sleeping Bags, and Apparel
After every outing, give your tent a gentle wash with a mild detergent, you don’t want to wash away its water-repellent magic. Rinse it well, then hang it in a breezy space until it’s completely dry. This keeps mildew at bay. Once it’s dry, apply a UV-resistant seam sealer to boost the waterproof power. A little extra effort now can help your shelter last many adventures.
Next, treat your down bags, sleeping bags, and quilts with care. Over time, body oils and sweat can squish their fluff and lessen their cozy warmth. So, wash them using a special down cleaner like Nikwax down wash, and toss them in the dryer on low heat with tennis balls to help keep the loft. This simple trick saves you money and makes sure you stay toasty when the nights turn chilly.
For your favorite boots or trail runners, a bit of regular cleaning goes a long way. Brush off dirt and debris, and then treat leather (or similar materials) with a product like Sno-Seal or a silicone spray. This helps keep them flexible and weatherproof so they’ll keep up with you on rough trails.
Finally, don’t forget about your hiking poles and zipper hardware. A quick wipe-down with a mild spray-bottle mix helps clear away grit that could jam collapsible joints. Take a moment to clean the zippers and any moving parts too. With a little routine care, your gear stays in great shape and is always ready for the next outdoor adventure.
Inspection Checklist for Equipment Wear and Performance Checks

After every outdoor adventure, take a moment to check your gear like you’re giving it a quick tune-up by a campfire. It’s important to catch little issues before they become big setbacks on the trail. Look at seams, zippers, webbing, and collapsible joints on your poles, just like a bike mechanic checking the brakes before a ride.
Next, follow these simple steps to spot wear and tear:
- Look over every seam and zipper for any splits or misalignments.
- Check webbing and straps for any signs of fraying or looseness.
- Feel the pole joints and collapsible parts to make sure they move smoothly.
- Give straps and buckles a gentle tug to test their load-bearing strength.
- Inspect metal parts for any hints of corrosion or damaged seam sealer.
Doing these routine checks is like following a map out on a clear trail, it helps keep your gear in top shape and your adventures worry-free.
Backpacking gear maintenance boosts gear life
Taking care of your gear is like planning a fun hike. Start with a simple schedule that you trust. Mark your calendar every few months or once a year for a deep clean, a touch-up on seals, and a check for sticky parts. These little checkups help catch problems early, from worn seams to stiff zippers, so you avoid costly fixes later on. Keeping a log of what you’ve done makes it easier to notice if something needs extra care.
Each type of gear deserves a bit of special attention. For example, you can treat your pack or tent with silicone or canvas sealant to keep water out. Use the right cleaners for your down jackets or technical fabrics, and don’t forget your electronics, fresh batteries and occasional service work help them run smoothly even high up. This careful attention keeps your gear tough and ready for any adventure.
Smart, budget-friendly repairs can make a big difference too. A quick DIY seam patch or a few stitches can stop small rips before they turn into bigger problems. Keeping a mini repair kit with you means you can fix issues on the spot, saving both time and money. These simple fixes help ensure your gear stays trustworthy, letting you spend more time enjoying the great outdoors without unexpected setbacks.
Final Words
In the action of caring for your kit, taking simple steps like a quick post-trip rinse, proper airing, and scheduled home repairs keeps your equipment ready for the next outing. Breaking down each method helps you understand how to treat every piece of gear.
A commitment to regular backpacking gear maintenance makes sure your supplies serve you longer and better. It leaves you eager for your next real, hands-on trip, filled with clear skies and crisp, open spaces.
FAQ
What does a backpacking gear maintenance checklist include?
A backpacking gear maintenance checklist includes steps like cleaning, rinsing, airing out, and proper storage. It reminds you to remove sweat and dirt after each trip to extend your gear’s life.
What does the best backpacking gear maintenance routine involve?
The best backpacking gear maintenance routine involves promptly cleaning your gear, using gentle cleaning agents, and storing items in well-ventilated spaces to prevent wear and tear from moisture and dirt.
How can I find backpacking gear maintenance near me?
Finding backpacking gear maintenance near you means checking local outdoor supply stores or nearby community centers that offer gear cleaning stations and expert tips to keep your equipment in top shape.
What options exist for backpacking gear maintenance service near me?
Backpacking gear maintenance services near you offer professional cleaning, inspection, and minor repair options. They use special cleaners and techniques suited for rugged outdoor equipment to boost its longevity.
What outdoor essentials are necessary for any campout and why?
Essential items include a sturdy tent for shelter, a warm sleeping bag for comfort, a reliable stove for cooking, a first aid kit for safety, and a proper light source for evenings. Each protects and serves a key function during campouts.
What does REI sleeping bag cleaning service provide?
The REI sleeping bag cleaning service provides expert cleaning that carefully washes and fully dries your sleeping bag. This helps maintain the loft and insulation, ensuring it stays warm and performs well over time.
What is the best hiking boot cleaner?
The best hiking boot cleaner gently lifts dirt and grime without harming the boot material. It uses a mild soap and water solution to preserve the boot’s water repellency and durability for long-lasting use.
How should Merrell hiking boots be cleaned?
Cleaning Merrell hiking boots involves brushing off loose dirt, using mild soap with water to gently wash the surface, and air drying them in a ventilated area to prevent damage and maintain their moisture protection.