
Ever wondered if you're ready for a trail that truly pushes your limits? The John Muir Trail covers more than 210 miles of rugged paths and steep peaks, each step urging you to get a little stronger.
With a bit of smart planning and an open mind for surprises, you learn to tackle nature's challenges head on. We share real, down-to-earth hiking tips and simple planning ideas to guide you through each mountain pass.
Ready to discover why this trail tests your grit and determination like no other?
Essential John Muir Trail Overview and Planning Steps
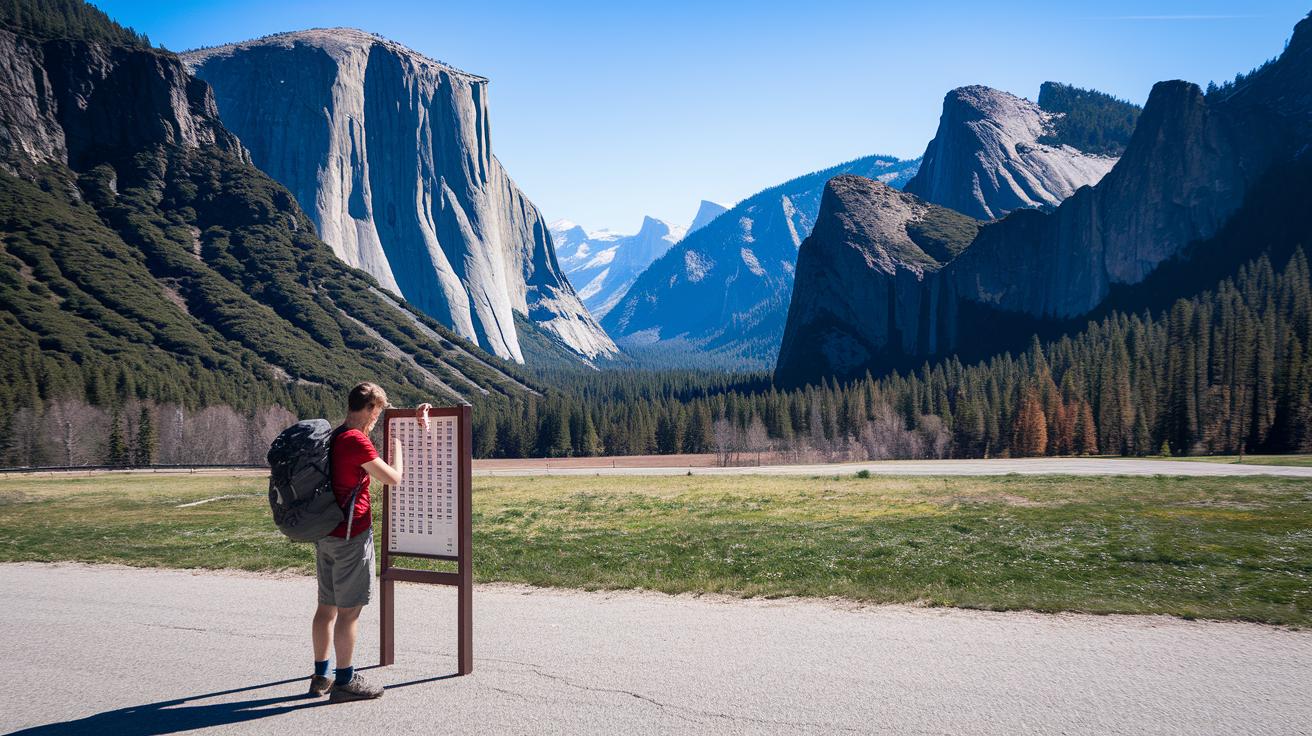
The John Muir Trail spans about 210.4 miles from Yosemite Valley to Whitney Summit, and it stretches to 221 miles if you include the drop to Whitney Portal. Most hikers finish this amazing journey in around three weeks, crossing 11 mountain passes, many of which climb above 12,000 feet. It’s an adventure full of ups and downs that needs some serious planning.
It’s a smart idea to head north-to-south (from Yosemite to Mt. Whitney) so your body can ease into the high climbs. Fun fact: early explorers spent weeks charting these high trails, setting the stage for today’s brave hikers. The best time to hit the trail is from late July through early October, though if you’re ready to brave some chilly snow, you might even start by mid-June.
You can pick your pace based on your fitness and the gear you’re carrying. For a steady adventure, try a three-week plan at about 10 miles a day. If you’re feeling confident, a 16-day plan of 14 miles daily could work well. And for those looking for a fast-paced challenge, a 10-day ultralight hike covering 16–22 miles a day, with some rest days thrown in, might be perfect.
Before you set off, make sure you have your wilderness permits in place. Getting these sorted is key to a smooth journey through federally managed lands. Enjoy the trail and take in every breathtaking view along the way!
John Muir Trail Permits, Lottery Process, and Entry Options
Permit Lottery Process
Almost 97% of permit requests don’t get approved. To hit the trail, you need to join a weekly pre-season lottery through recreation.gov. For the Yosemite section, 60% of the spots open up six months before your planned start. The other 40% is for walk-ups, available just two weeks before you go. It doesn’t matter if you’re hiking northbound or southbound. Mark your calendar so you don’t miss these key dates. Think of it like picking a busy campsite, planning early gives you a much better chance. For more info, visit the wilderness permit lottery page at https://www.nps.gov/yose/planyourvisit/pwrpermits.htm.
Alternative Entry Points
If the Yosemite lottery feels like too much hassle, try other entry spots. Trailheads such as Horseshoe Meadow, Cottonwood Pass, or Cottonwood Lakes often have fewer applicants. You still need permits for these federally managed areas, but the lower demand might work in your favor. This means you can skip some of the hectic lottery steps yet still enjoy the trail’s natural beauty.
John Muir Trail Route Details and Sample Itineraries
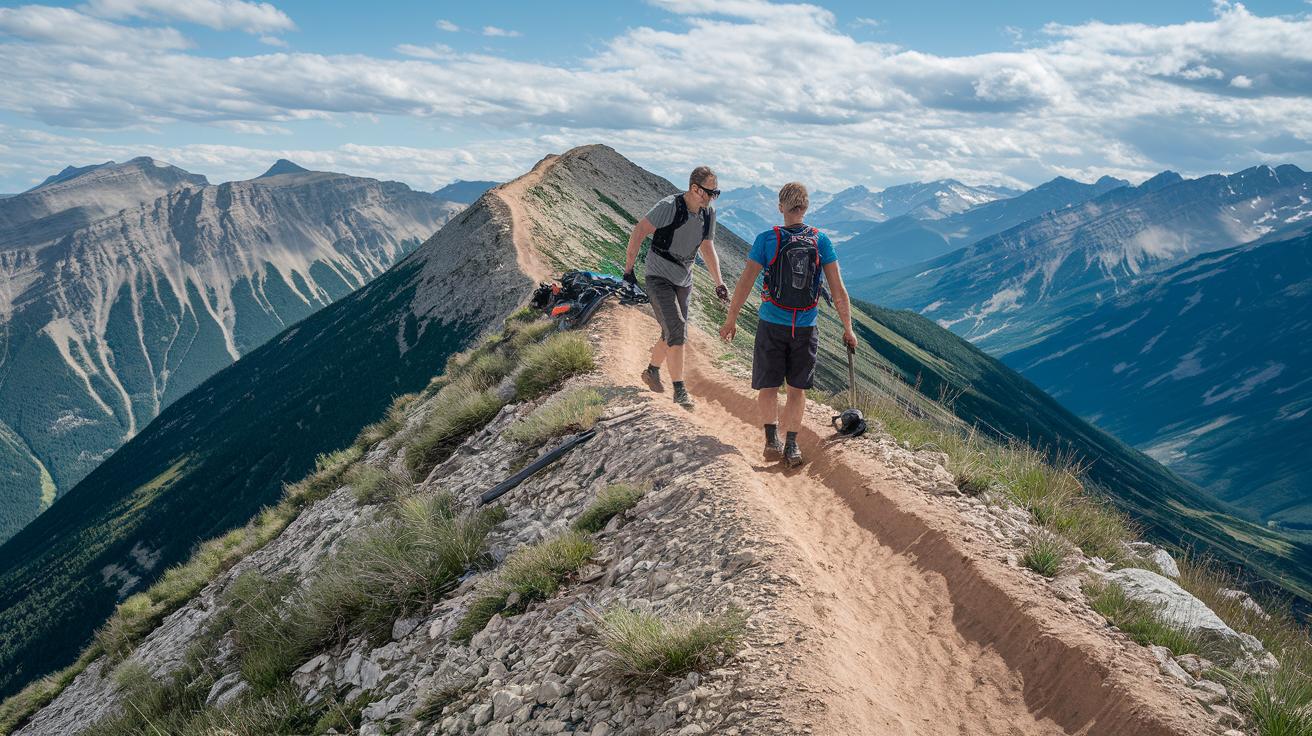
The John Muir Trail is a true adventure. With 11 high passes over 12,000 feet and a total climb of about 46,000 feet, it pushes you to adjust quickly on steep climbs and wild descents. Pace is everything here.
You can choose how many miles you cover each day. Some hikers opt for a daring 10-day push with 16 to 22 miles daily. This plan fits those with plenty of endurance who aren’t afraid of tough descents, even facing over 10 miles down from Mount Whitney later on.
Maybe you like a more relaxed pace. A 16-day route with about 14 miles a day lets you conserve energy and adjust easier to rising altitudes. And if you like to take it even slower, a 22-day journey is just the ticket. It starts with lighter days (about 8 to 12 miles) and gradually ramps up, giving you room to add rest days (zero days) as needed for recovery.
Those zero days are a lifesaver when your body needs time to settle into steep climbs and deep descents. Think of it like training up a gentle slope that climbs into a steep ridge. As you trek from Yosemite to Mt. Whitney, you’ll build confidence and strength by starting slow and taking breaks along the trail.
| Day Range | Miles/Day | Notes |
|---|---|---|
| 1–10 | 16–22 | Bold push with high daily mileage |
| 1–16 | 14 | Steady pace with fewer rest days |
| 1–22 | 8–12 | Gradual build with more time to acclimate |
These options help you choose the perfect plan based on your fitness, the weight of your gear, and how comfy you feel with steep climbs and descents.
Essential Gear and Safety Protocols for the John Muir Trail
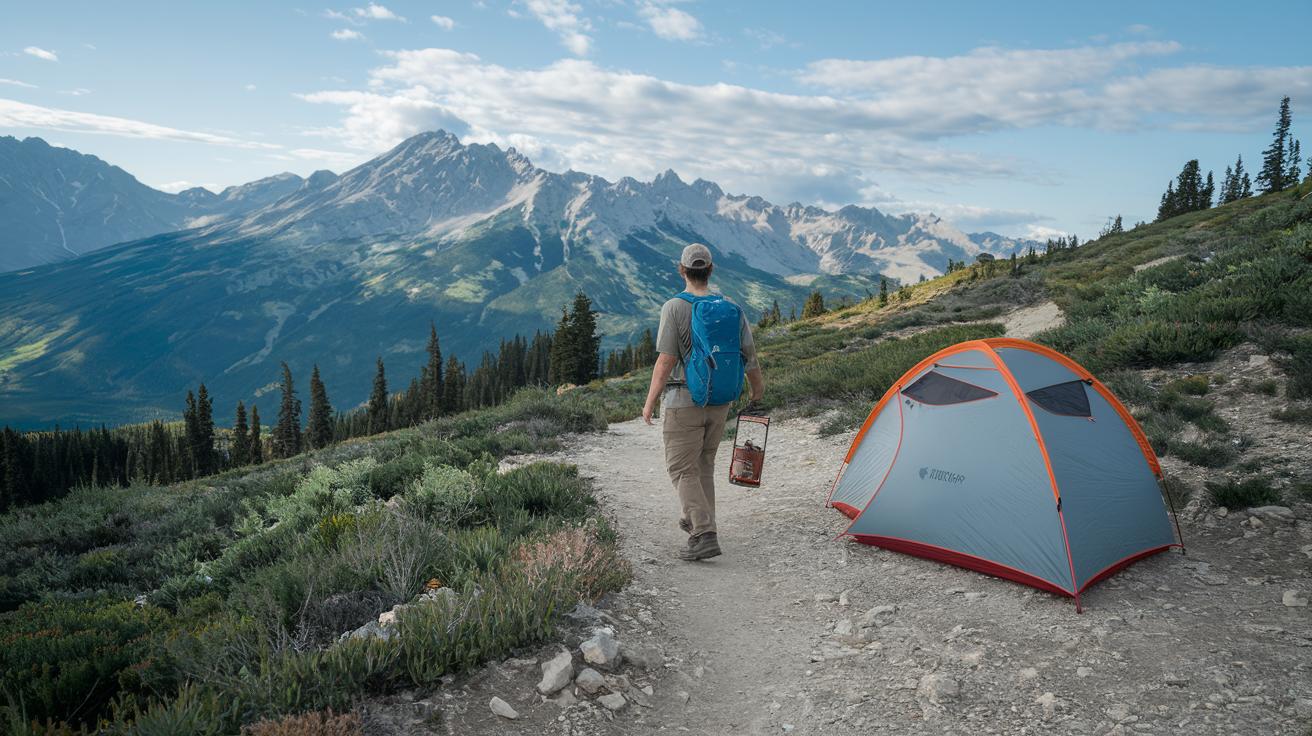
Before you set off on the John Muir Trail, pack smart and light. Think of your base-weight backpack like the reliable companion it is, around 12 lbs without food and water, coming in at about 21 to 27 lbs total. It’s like picking the perfect pair of hiking boots; comfort makes a world of difference. Bring along a sturdy four-season tent, an insulated sleeping bag paired with a matching sleeping pad, and a lightweight stove for a warm, hearty meal on the trail. Don’t forget a trusted water filter, a durable GPS watch, a compact first-aid kit, and sturdy trekking poles to help you on those rugged paths.
Wildlife matters too, so be sure to store your food and scented items in approved canisters. It’s a bit like locking up your backpack before you sleep under the stars, keeping both your gear and nature safe. And if you’re hiking in July or August, arm yourself with mosquito netting and DEET repellent. That way, you can enjoy the clear, scenic views without those pesky bugs getting in the way.
Your feet deserve some love after all that trekking. Pack a small blister kit with bandages and moleskin. When your feet get wet or tired, take a moment to kick off your shoes, let your socks and insoles air out, and just breathe. It’s a simple step that keeps you comfortable and ready to enjoy every twist and turn of the trail.
Seasonal Weather, Acclimatization, and High Altitude Considerations on the John Muir Trail
Weather on the trail can flip in a heartbeat. Early on, even by mid-June, you might still find a bit of snow here and there. Think of it like this: pack a cozy fleece under your waterproof jacket, so you're always ready when a chilly gust shows up.
When July and August roll around, things heat up a bit, and the bugs start to buzz. Ever been caught off guard by a sneaky mosquito on a sunny hike? Come September, those little critters chill out, letting you savor the crisp mountain air. And remember, many high passes soar above 12,000 feet. It’s best to take your time, adding a few extra miles here and there and planning plenty of rest days. That way, your body gets used to the thin air slowly, like a gentle climb to an amazing view.
Staying hydrated is key up there. Picture it like watering a little plant throughout the day; a steady stream of sips helps keep altitude sickness at bay. With a careful pace and a smart north-to-south route, you can tackle those 11 passes with ease. Simple tweaks really make every step a joy, no matter if you’re facing unpredictable weather or steep climbs.
John Muir Trail Resupply Locations and Water Source Planning
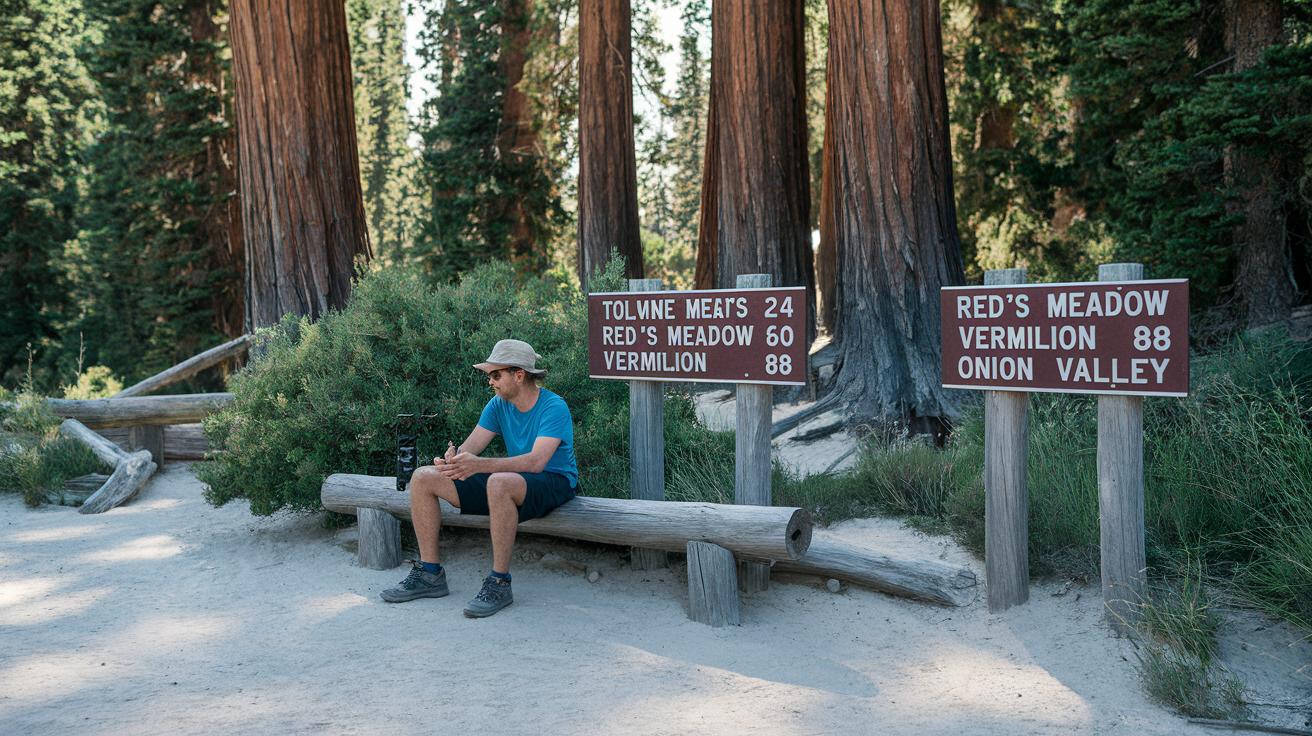
When you’re out walking the trail, finding a spot to restock on food feels like a little celebration on the journey. At Tuolumne Meadows around mile 24, you can quickly grab a few must-haves before the trail starts to climb. Then, around mile 60, Red’s Meadow Resort is another great break where you can refuel.
As your adventure continues, Mammoth Lakes (reachable by shuttle) offers yet another chance to fill up on supplies. Not far after that, at mile 88, Vermillion Valley Resort and then Muir Trail Ranch at mile 110 present perfect opportunities to recharge both body and spirit. Finally, Onion Valley, near mile 180, stands as one last important point to pick up more goodies before your journey wraps up.
You’ll notice that water is usually pretty easy to come by on most parts of the JMT. But, here’s a heads-up: between Guitar Lake and Whitney Trail Camp you might run into a dry stretch. So, it’s smart to carry no more than two liters between water stops to keep your pack light and your hike smooth.
Campsites at these resupply points are set up with handy bear boxes and safe fire rings. At Vermillion Valley Resort, for instance, you can pitch your tent near the fire ring and stash your food in the bear box, kind of like keeping your favorite camping mug safe from unexpected splashes.
| Location | Mile Marker |
|---|---|
| Tuolumne Meadows | 24 |
| Red’s Meadow Resort | ~60 |
| Mammoth Lakes (via shuttle) | N/A |
| Vermillion Valley Resort | 88 |
| Muir Trail Ranch | 110 |
| Onion Valley | 180 |
Interactive Mapping, GPS Tracking, and Printable Maps for the John Muir Trail
Digital Mapping Tools
Before hitting the trail, load your smartphone with apps like Gaia GPS or AllTrails. These apps let you download parts of the trail so that even when the signal drops, you still know where you are. They show simple route markers, elevation details (like rises and dips), and water stops. It’s much like having an old friend guide you along the path. Ever get that little ping on your phone saying, "Next stop: 0.5 miles ahead with a 300-foot climb"? It keeps you in the loop, step by step.
Printable and Offline Maps
It never hurts to have a backup plan that combines both digital and paper maps. Services such as CalTopo offer offline topographic maps you can customize to fit the entire route. Then there’s the trusty paper guide, like a USGS quad or National Geographic map pack, which never runs out of battery. Just imagine flipping through a map before you set out in the crisp morning air. Using both types means you always feel secure and ready to take in every twist and turn the trail has to offer.
Historical Context and Conservation Impact of the John Muir Trail
Built way back between 1915 and 1938, this trail is a heartfelt nod to John Muir’s dream of keeping wild lands open for everyone to explore. Early trail builders worked hard, much like pioneers carving a path under a big sky, to connect three famous parks, Yosemite, Kings Canyon, and Sequoia. Imagine a time when modern hiking wasn’t even a hobby, and crews still managed to clear trails through untouched high country, all in honor of nature’s true beauty.
John Muir’s spirit still lives on here. His ideas about leaving no trace (a simple way of saying “don’t mess up nature”) and sticking to park rules shape the trail today. Even now, volunteers from the Sierra Club and teams from the National Park Service get out there, treating each fix and cleanup like a small thank-you to Muir. It’s as if every repaired section of the trail is a quiet cheer for nature.
Each guideline and repair shows a deep commitment to protecting these beautiful lands for the next adventurer. Reading stories about the trail’s early days makes you feel the awe and dedication people once had for conserving wild beauty. Today’s care keeps this trail a living legacy, a place that inspires every hiker to tread lightly and honor the history and wild nature around them.
Final Words
In the action, we covered the basics, from planning your route and scoring permits through trial systems to mapping out your pace on the john muir trail. We chatted about must-have gear, safety tips, staying ready for sudden weather shifts, and planning resupply stops. Each section kept things real and easy to follow.
Every detail is meant to help you step confidently onto the trail with a clear idea of what lies ahead. Enjoy every step and keep exploring with a smile.
FAQ
What is the total distance of the John Muir Trail?
The John Muir Trail measures about 210 miles to Whitney Summit, and around 221 miles if you include the descent to Whitney Portal.
How long does it take to hike the John Muir Trail?
The John Muir Trail typically takes around three weeks to complete. Your pace, rest days, and acclimatization all shape the total hiking time.
What permits are required for the John Muir Trail?
The John Muir Trail needs permits for all federal lands. Permit applications are mostly decided by a lottery system with advance and walk-up quotas.
Where does the John Muir Trail begin and end?
The John Muir Trail starts in Yosemite Valley and winds its way south to Mt. Whitney, giving hikers firsthand views of iconic high-country landmarks.
How challenging is the John Muir Trail?
The John Muir Trail is challenging due to steep climbs and high mountain passes. Its rugged terrain requires good fitness and proper acclimatization.
What key resources help plan a John Muir Trail hike?
Essential resources include guide books, detailed maps, and online forums that provide route details, permit advice, and tips to help you plan safely.
What is the connection between the John Muir Trail and Yosemite?
The John Muir Trail passes through Yosemite National Park, offering breathtaking views such as those of Half Dome, which capture the park’s remarkable natural beauty.
What about fastest known times and similarly named trails?
The John Muir Trail has FKT records for rapid completions. Similarly, trails like the Pacific Crest, Long Trail, Wonderland Trail, and Appalachian National Scenic Trail each provide unique terrain and pacing challenges for hikers.
Is the John Muir Trail only found in California?
The famed John Muir Trail is in California, but there are other trails by the same name in places like Wisconsin and Tennessee. Research local trail details before planning a visit.